How to import my contacts into Leadsales?
If you already have a database with your prospects or clients, you can upload them to Leadsales.
Hello, Leadsaler! 👋
Do you have a prospect database and want to upload it to Leadsales quickly? We will teach you how to import contacts in CSV format and what to keep in mind to ensure the process is successful on the first try.
🧾 Step 1: Download the sample file
Log into your Leadsales account and go to the Directory module.
Click on the “Import Leads” button.
In the pop-up window, select “Sample CSV” to download the file
example_en.csv.
This file contains the exact columns required by the platform to correctly import your contacts.
✍ Step 2: Fill the file, respecting the structure
The file must retain the following columns (in this exact order and with the titles in English):
Field | Mandatory? | Description |
| ✅ | Country code (e.g., 52 for Mexico, 57 for Colombia) |
| ✅ | Phone number without spaces or dashes |
| ✅ | Name of the lead or contact |
| Optional | Potential value of the lead |
| Optional | Contact's email |
| Optional | Tags separated by commas (no spaces) |
| Optional | Company associated with the lead |
| Optional | User responsible for the lead within your Leadsales account |
⚠ Although optional fields can be left blank, you must not delete any column from the file.
📤 Step 3: Upload your file
Ensure the file is saved as
.csv.Return to the Directory menu → Import Leads.
Drag the file or click to select it from your computer.
The system will automatically validate that the structure is correct.
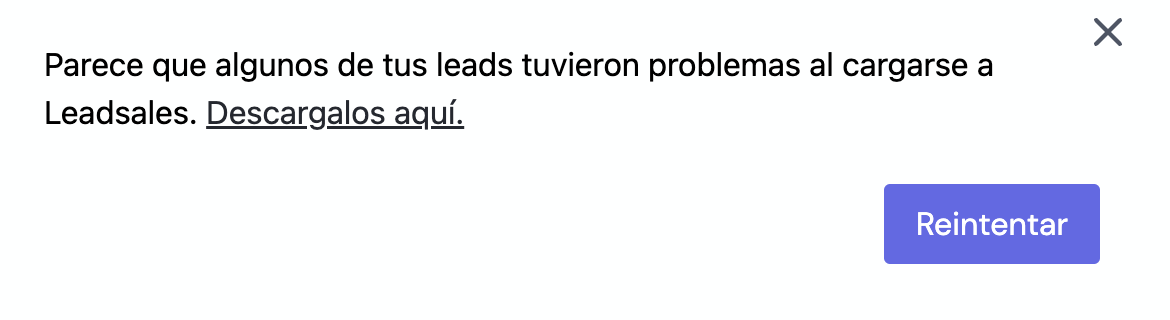
❗What happens if there are errors?
If any data is incorrect (for example, an incomplete number or a misspelled code), the system will notify you.
You can download an error file, correct it, and re-upload it.
🌍 Global Tip
If you have leads from different countries, make sure to enter the Area code correctly for each contact.
For example:
Mexico →
521Colombia →
57Peru →
51Chile →
56
🎯 What comes next?
Once imported, the contacts will appear in the Directory. From there, you can assign them to a funnel, tag them, or start conversations with them from the chat.